Flash Custom ROMs on Android
11 Feb 2016BG
This evening, my aunt brings out an ASUS Nexus 7 (ME370T) and ask my brother to make it usable in China, after the brother ordered a TP-Link 5600 router for her replacement. Soon, it lies on me as he think it is too complecated.
At first, I set up a privoxy proxy and logon with my own Google account to initiate it. Until this time, I realize for the first time that Google has make smart phone as convient as Apple. Soon after login with Google account, all my contacts, my Gmail inbox, my Google Drive files, come into being in no time. However, only across the GFW.
Since it is not convient for eld people to know how to access Google inside GFW, we decide to flash it to a Chinese 安卓 system instead of Android with bonded with Google Services Framework.
Prepare Tools
brew install android-platform-tools
Yes, the guide says you should install the whole android-sdk for only adb and fastboot. But I prefer a smaller solution.
Prepare Device
Enable the hidden USB debugging option
https://twrp.me/devices/asusnexus72013wifi.html
On your device, go into Settings -> About and find the Build Number and tap on it 7 times to enable developer settings.
Press back and go into Developer Options and enable USB debugging.
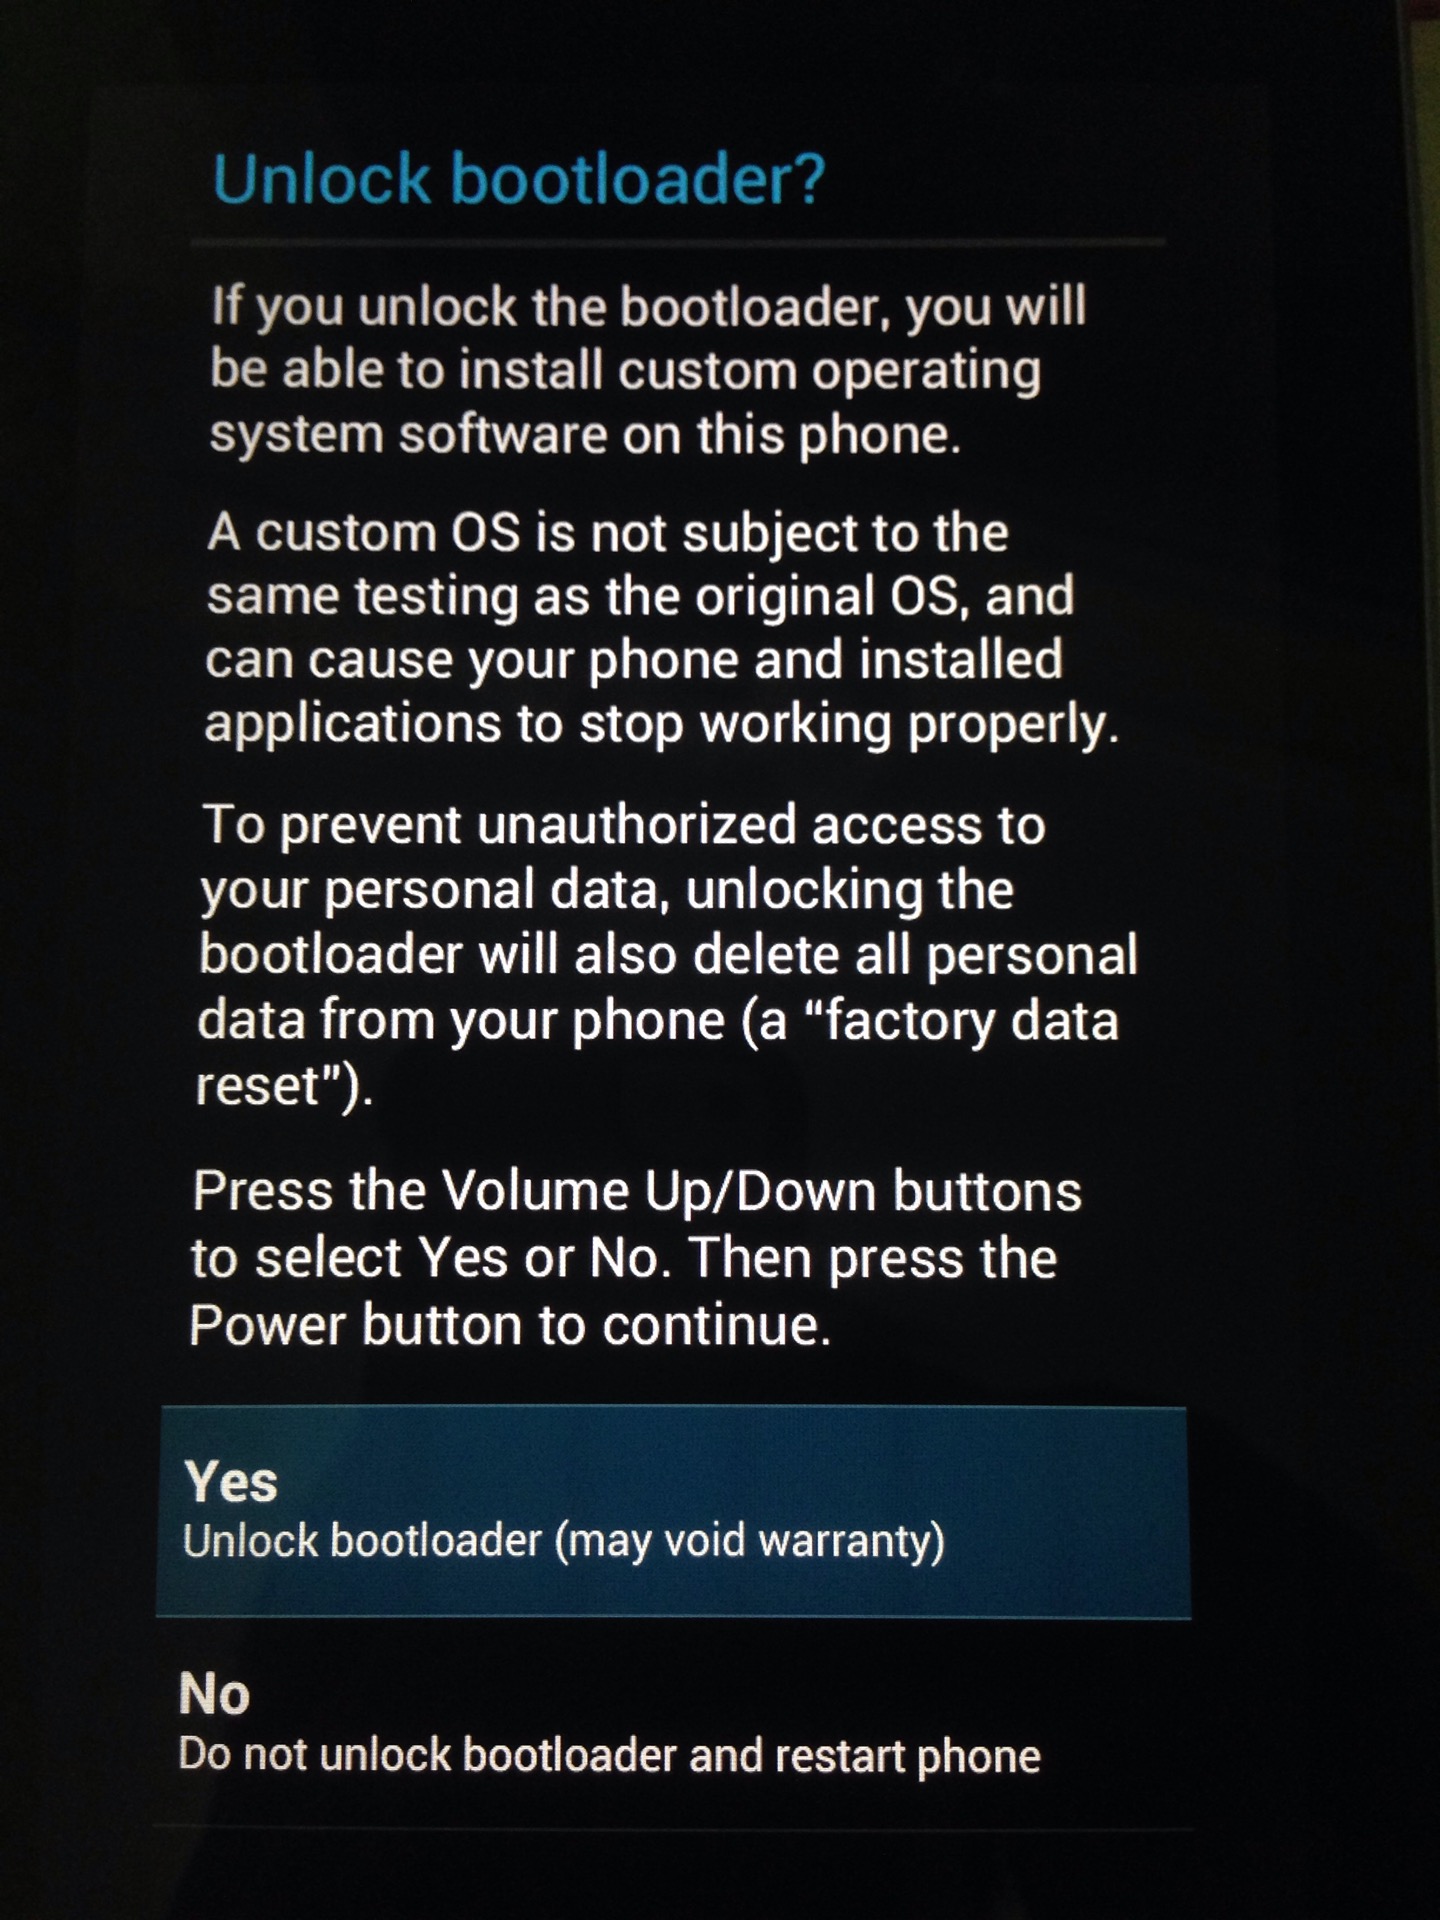
Unlock Google Nexus 7 Bootloader
adb reboot bootloader
fastboot oem unlock
Then operate on your device like this photo:
Flash New Bootloader/Recovery
adb reboot bootloader
You should now be in fastboot mode. Download the correct image file and copy the file into the same folder as your adb and fastboot binaries. Rename the image to twrp.img and type:
fastboot flash recovery twrp.img
fastboot reboot
Note many devices will replace your custom recovery automatically during first boot.
To prevent this, use Google to find the proper key combo to enter recovery.
After typing fastboot reboot, hold the key combo and boot to TWRP. (‘Volume Down’ and ‘Power’ buttons)
Once TWRP is booted, TWRP will patch the stock ROM to prevent the stock ROM from replacing TWRP.
If you don’t follow this step, you will have to repeat the install.
USEFUL INFORMATION
How to get into your FastBoot Mode
- Turn your phone off
- Unplug your usb cable if you have one plugged in
- Keep holding the ‘Volume Down’ and ‘Power’ buttons to boot the phone into FastBoot Mode
How to get into Recovery
- First boot into FastBoot Mode as described above
- Scroll down with the ‘Volume Down’ button until it says ‘Recovery mode’ at the top and press the ‘Power’ button to enter Recovery
Show the Menu in the Stock Recovery Screen
- Hold the Power button and keep holding as you press the Volume Up button quickly. The blue recovery menu screen should pop up.
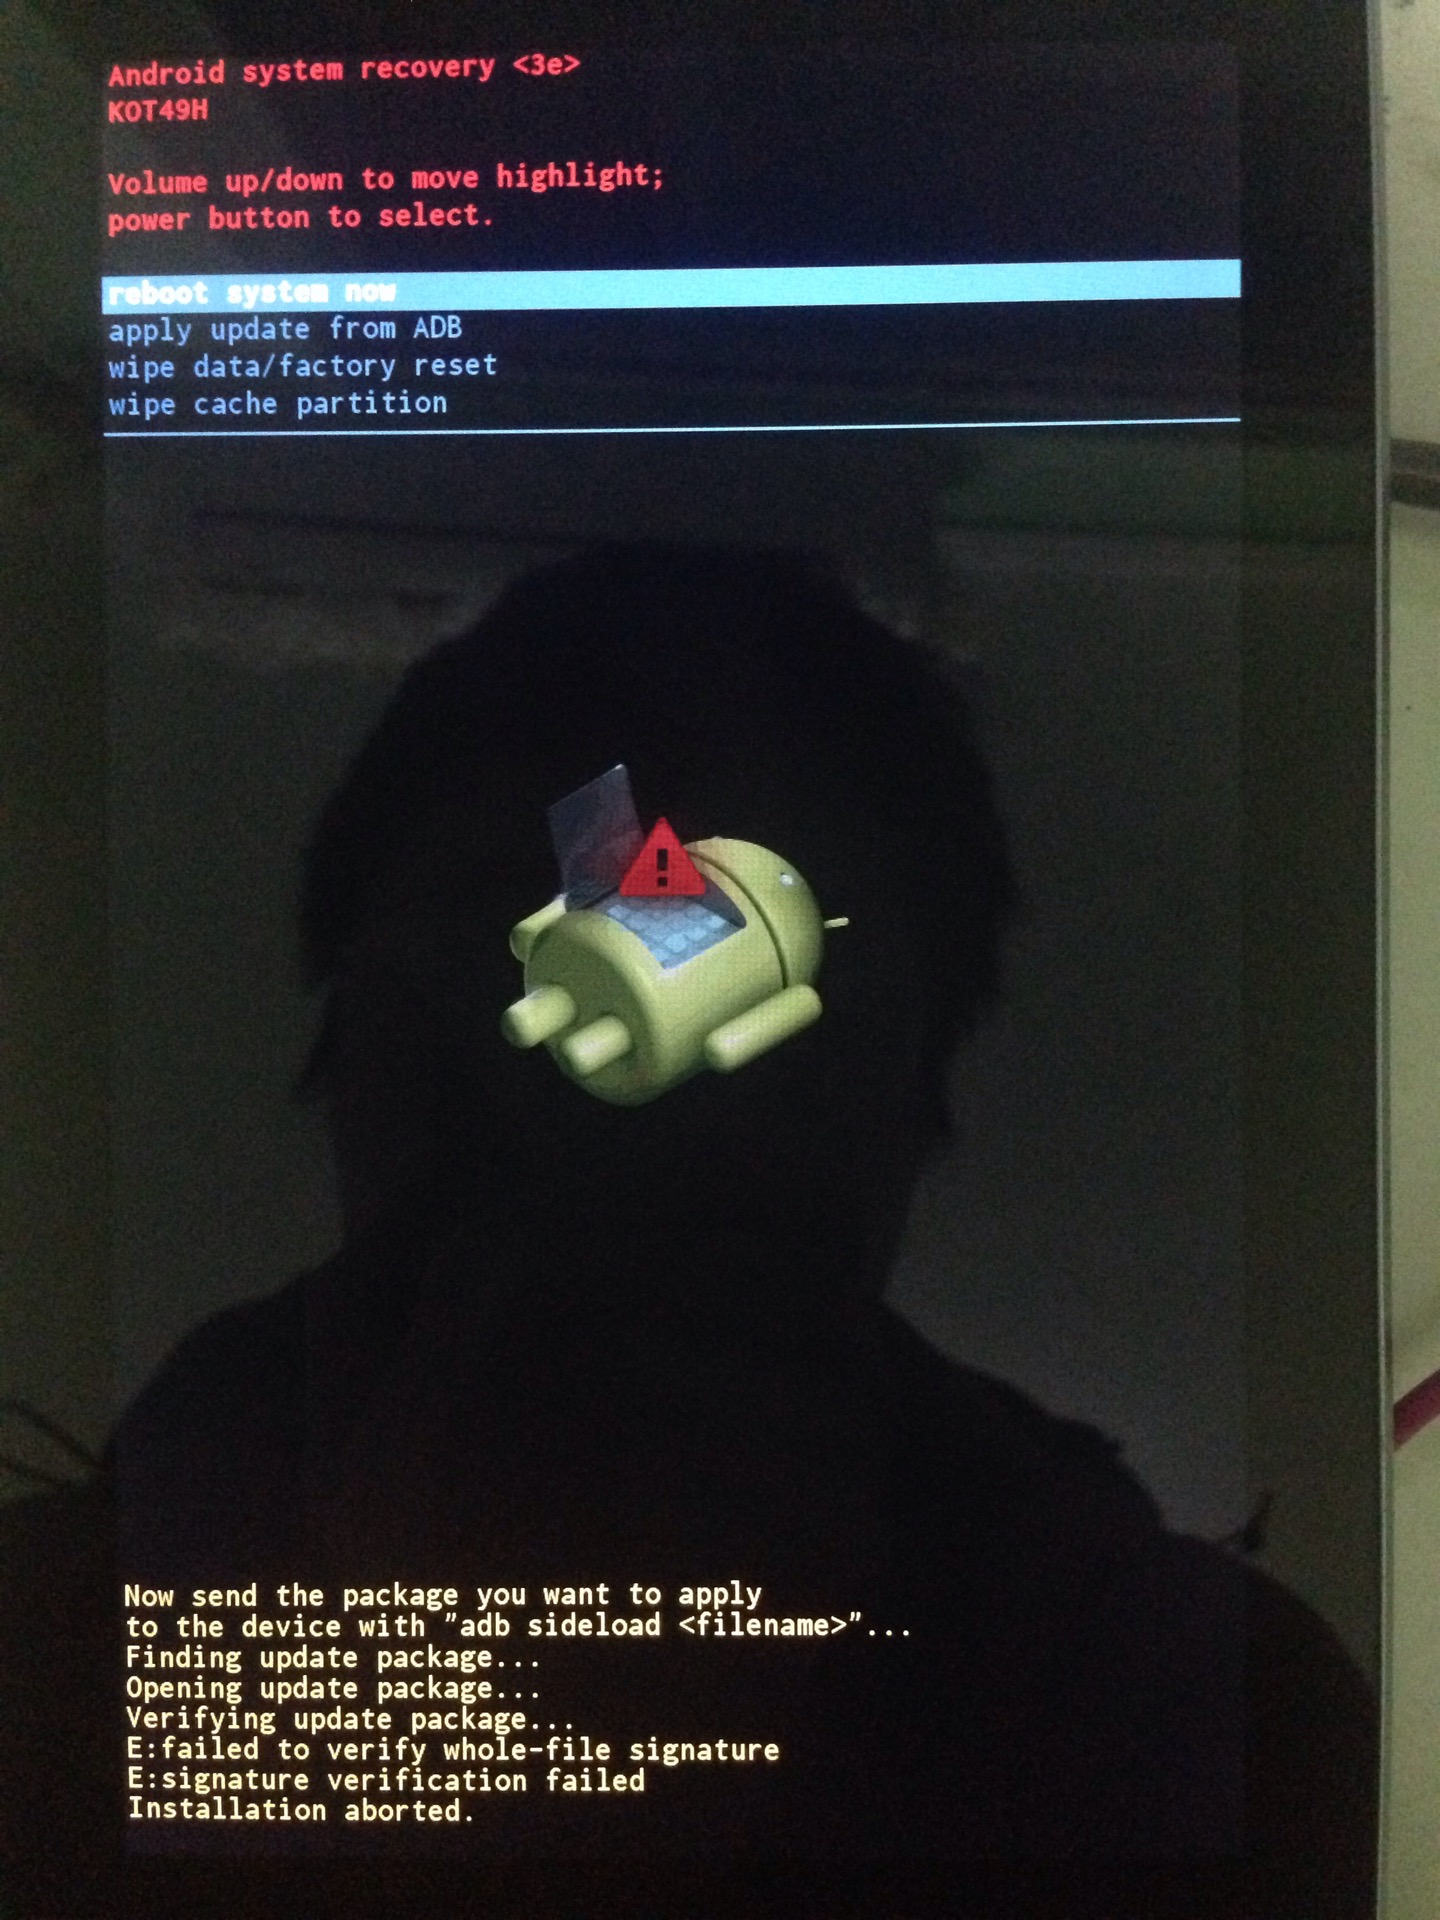
What if you flash with the original ASUS bootloader ?
Finding update package …
Opening update package …
Verifiyng update package …
E: failed to verify whole-file signature
E: signature verification failed
Installation aborted.
Thanks to Harley Santana, who types the whole thing out so that I can Google and copy-paste it.
Also, photos:
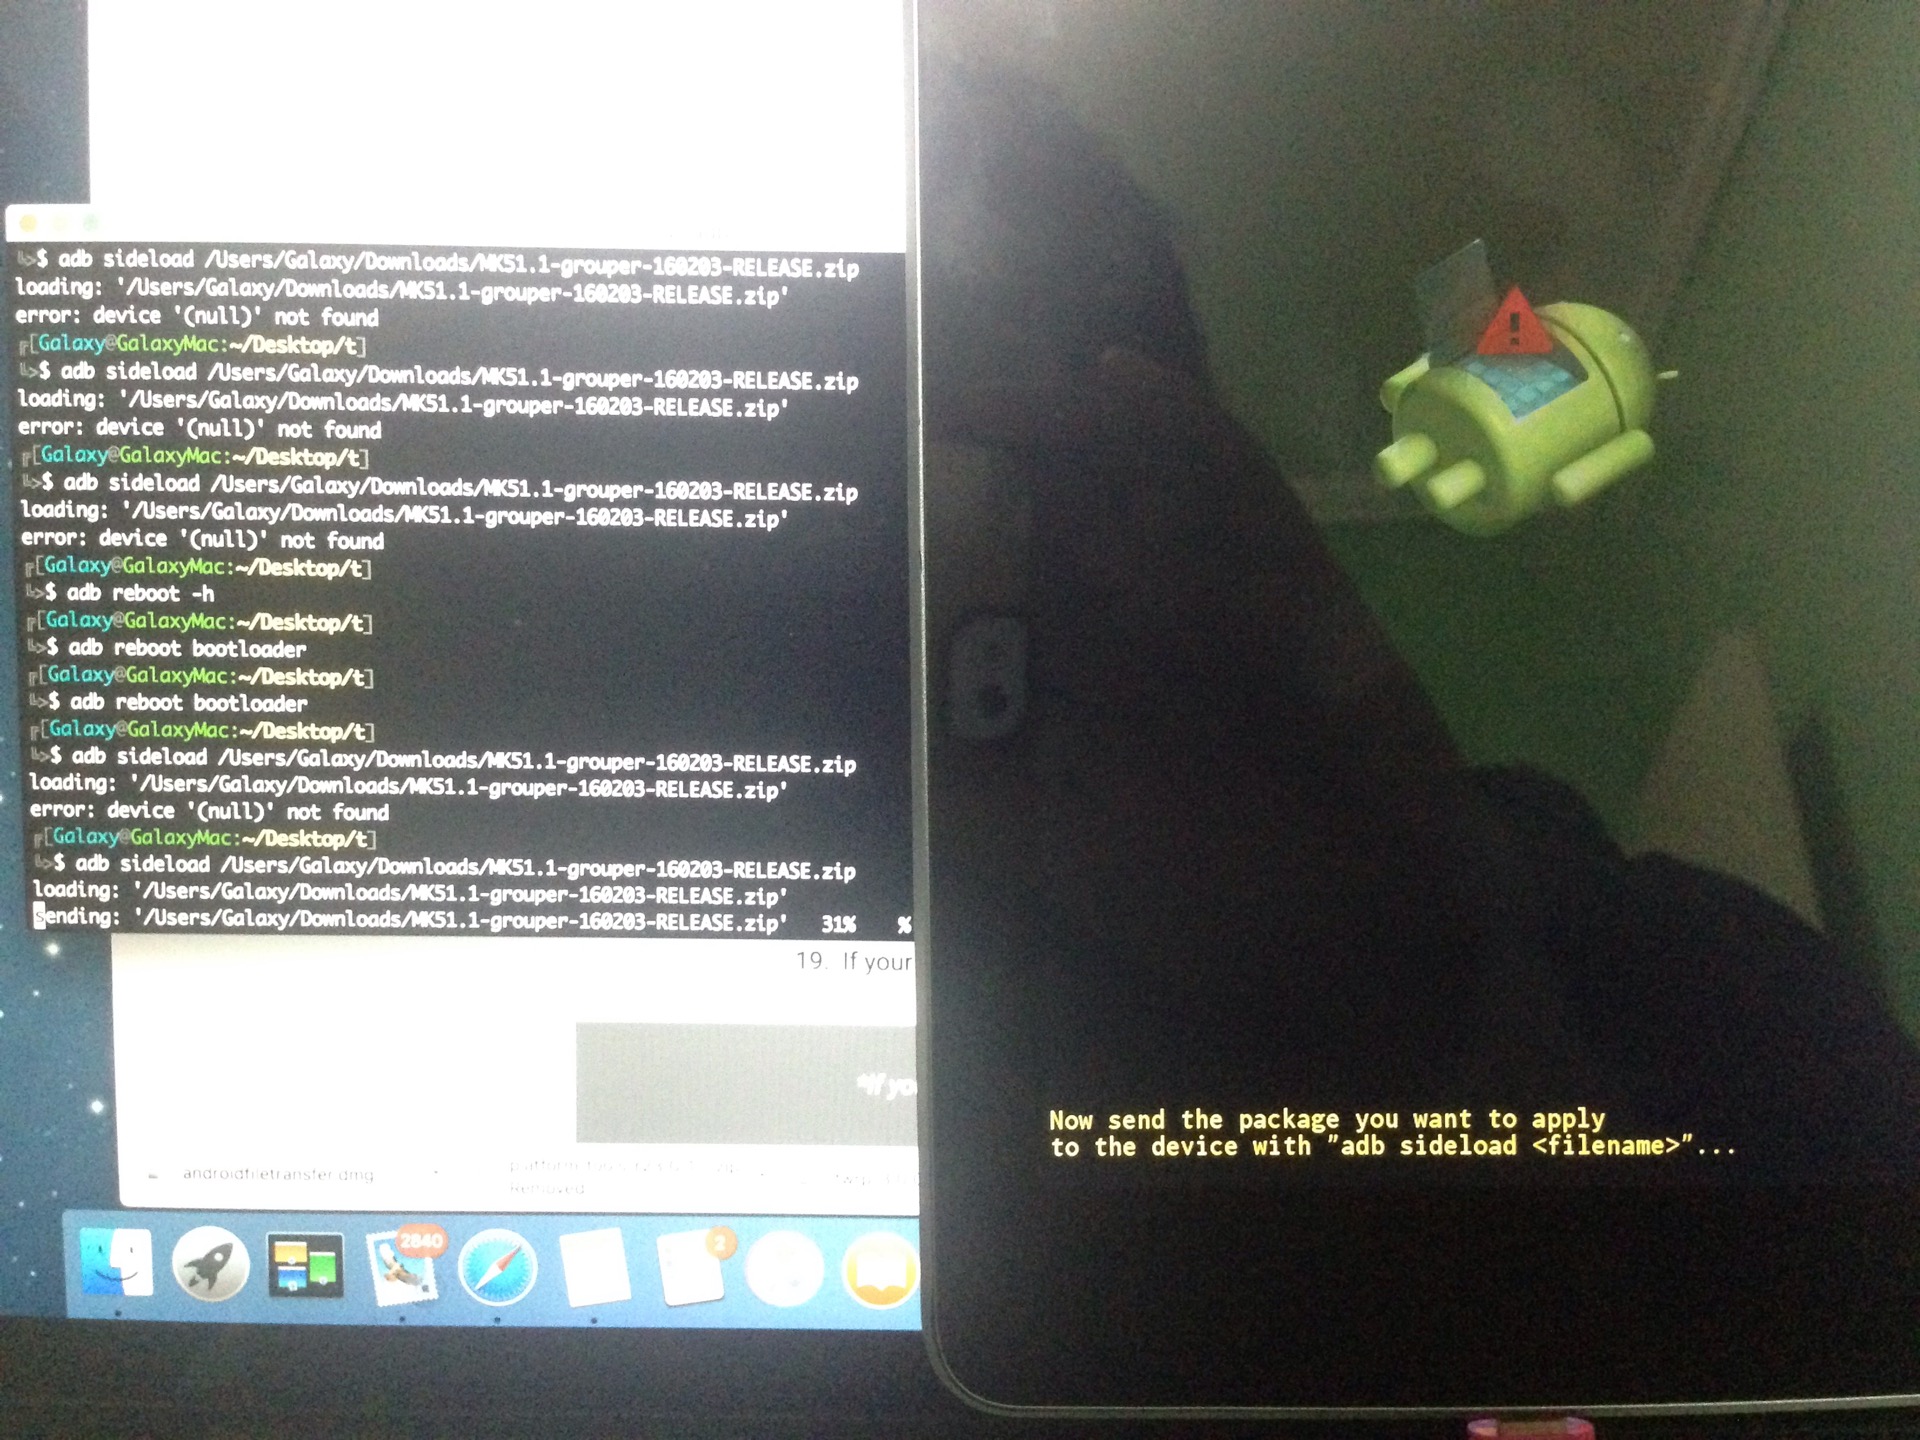
Flash a Custom ROM zip
adb sideload MK51.1-grouper-160203-RELEASE.zip
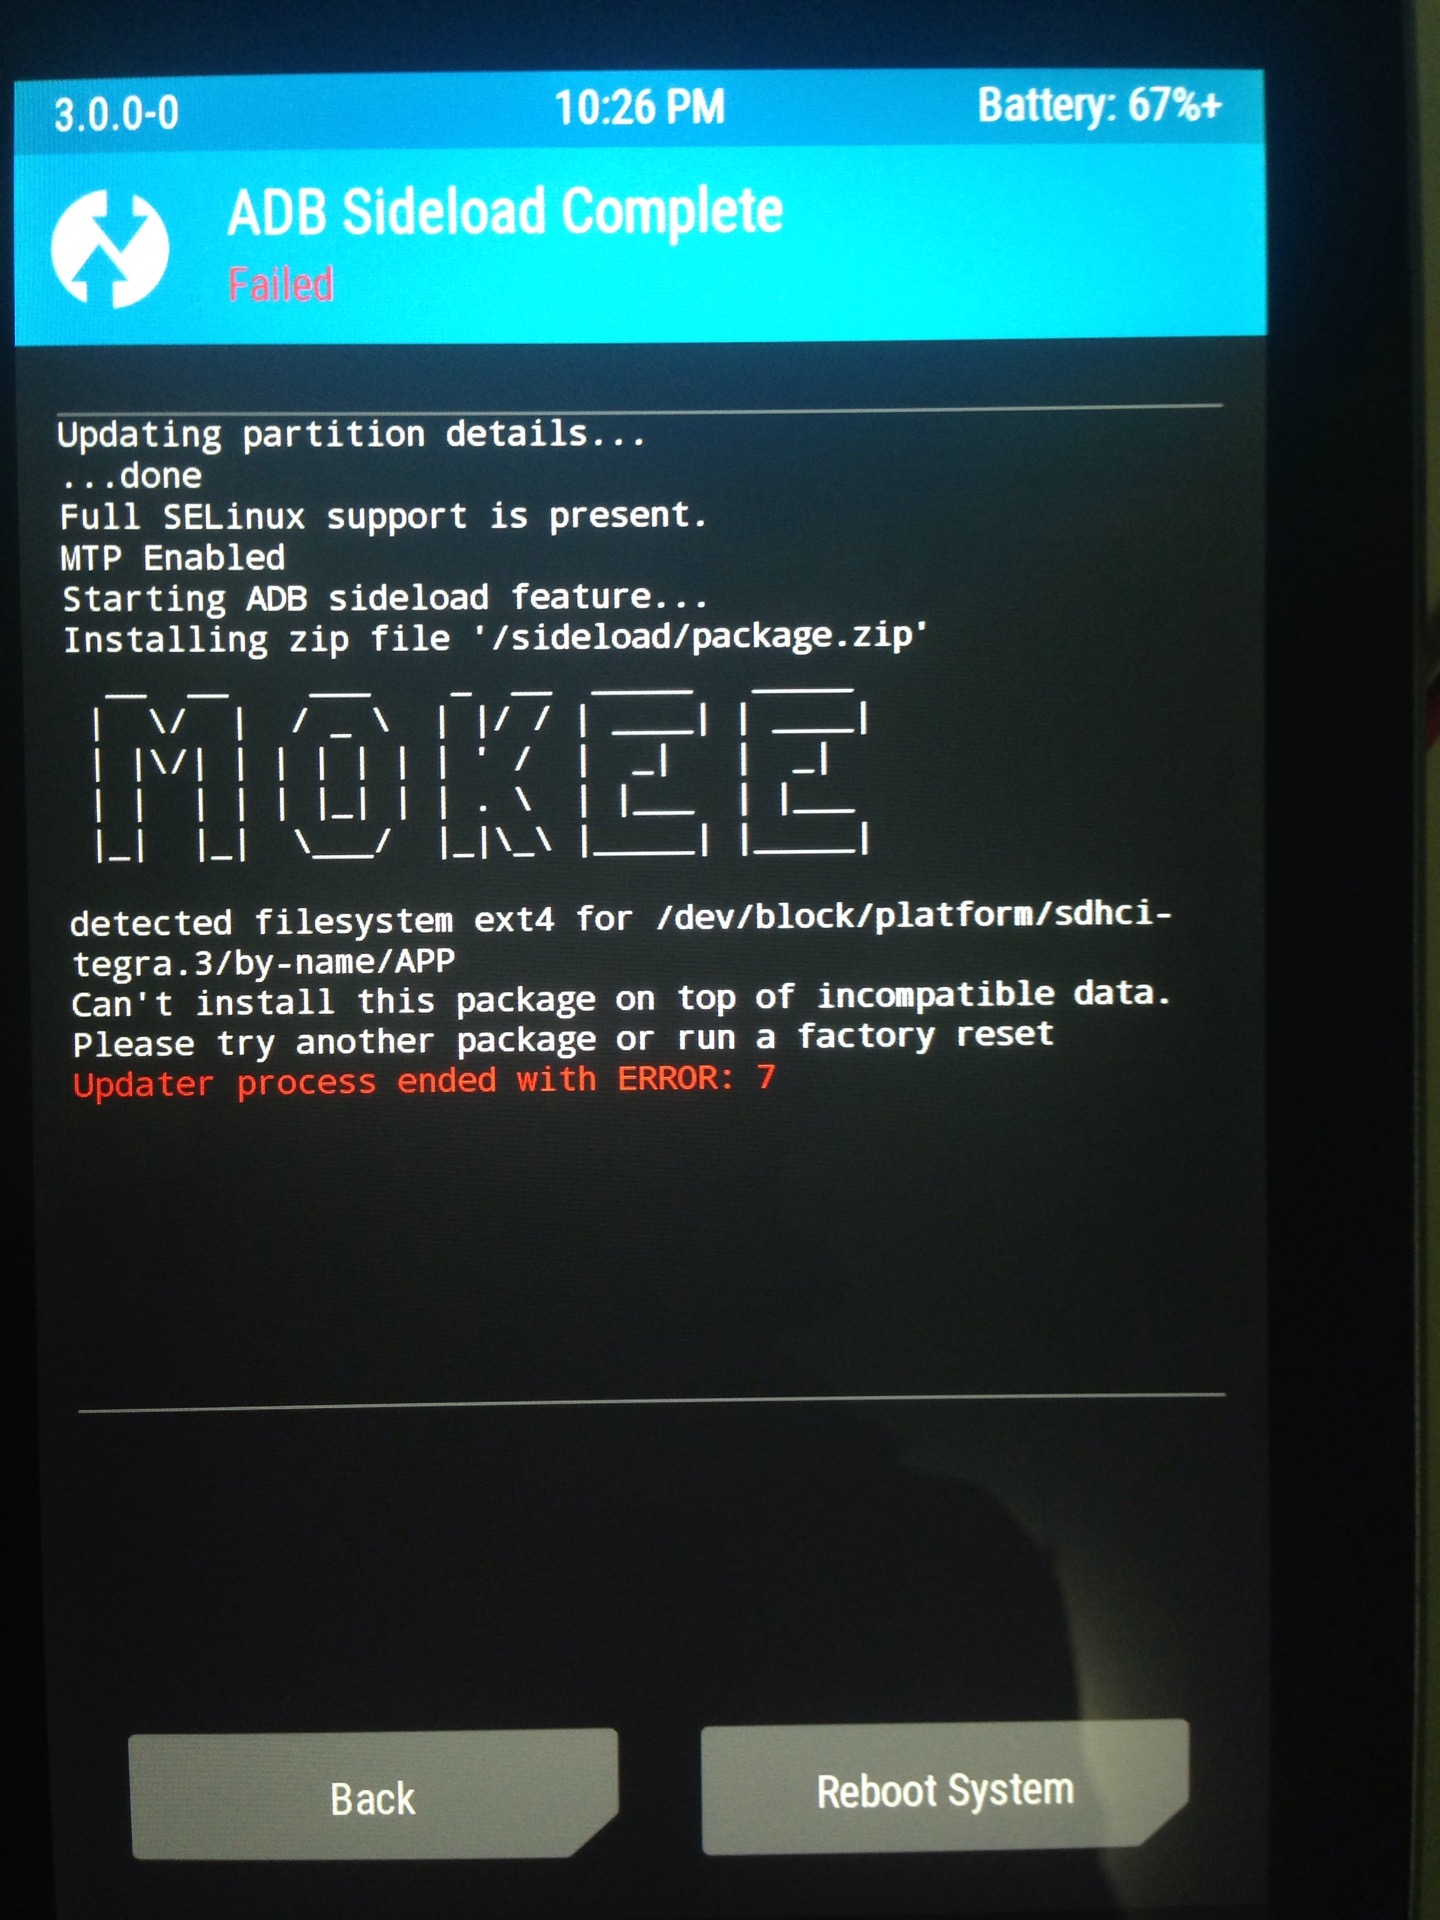
If you have booted up to normal system once after fastboot oem unlock, you have to repeat a factory reset. Or, there will be a prompt for you as:
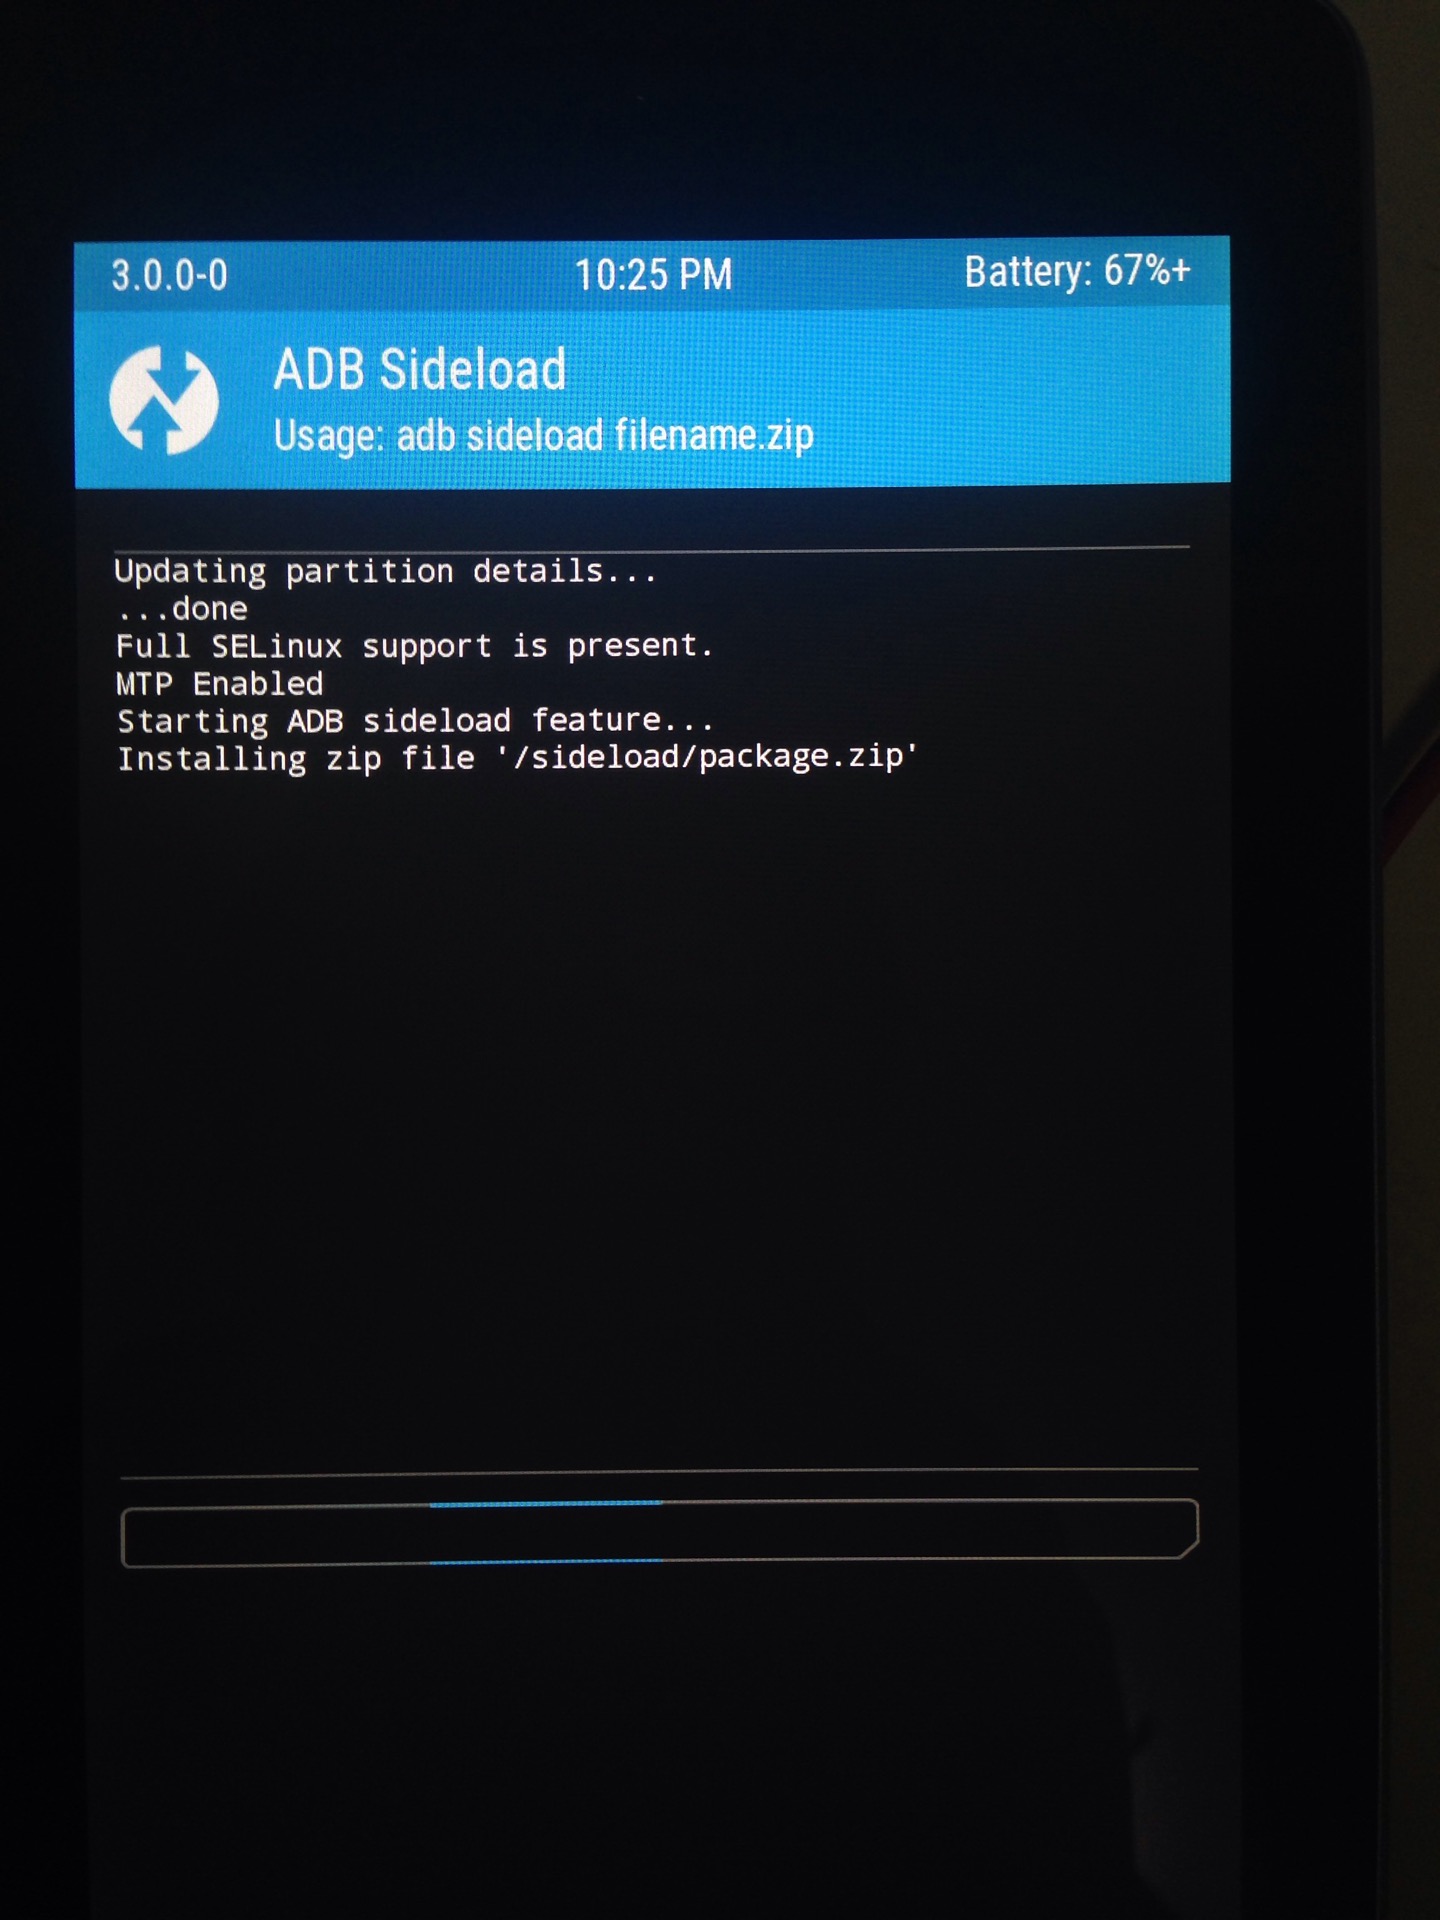
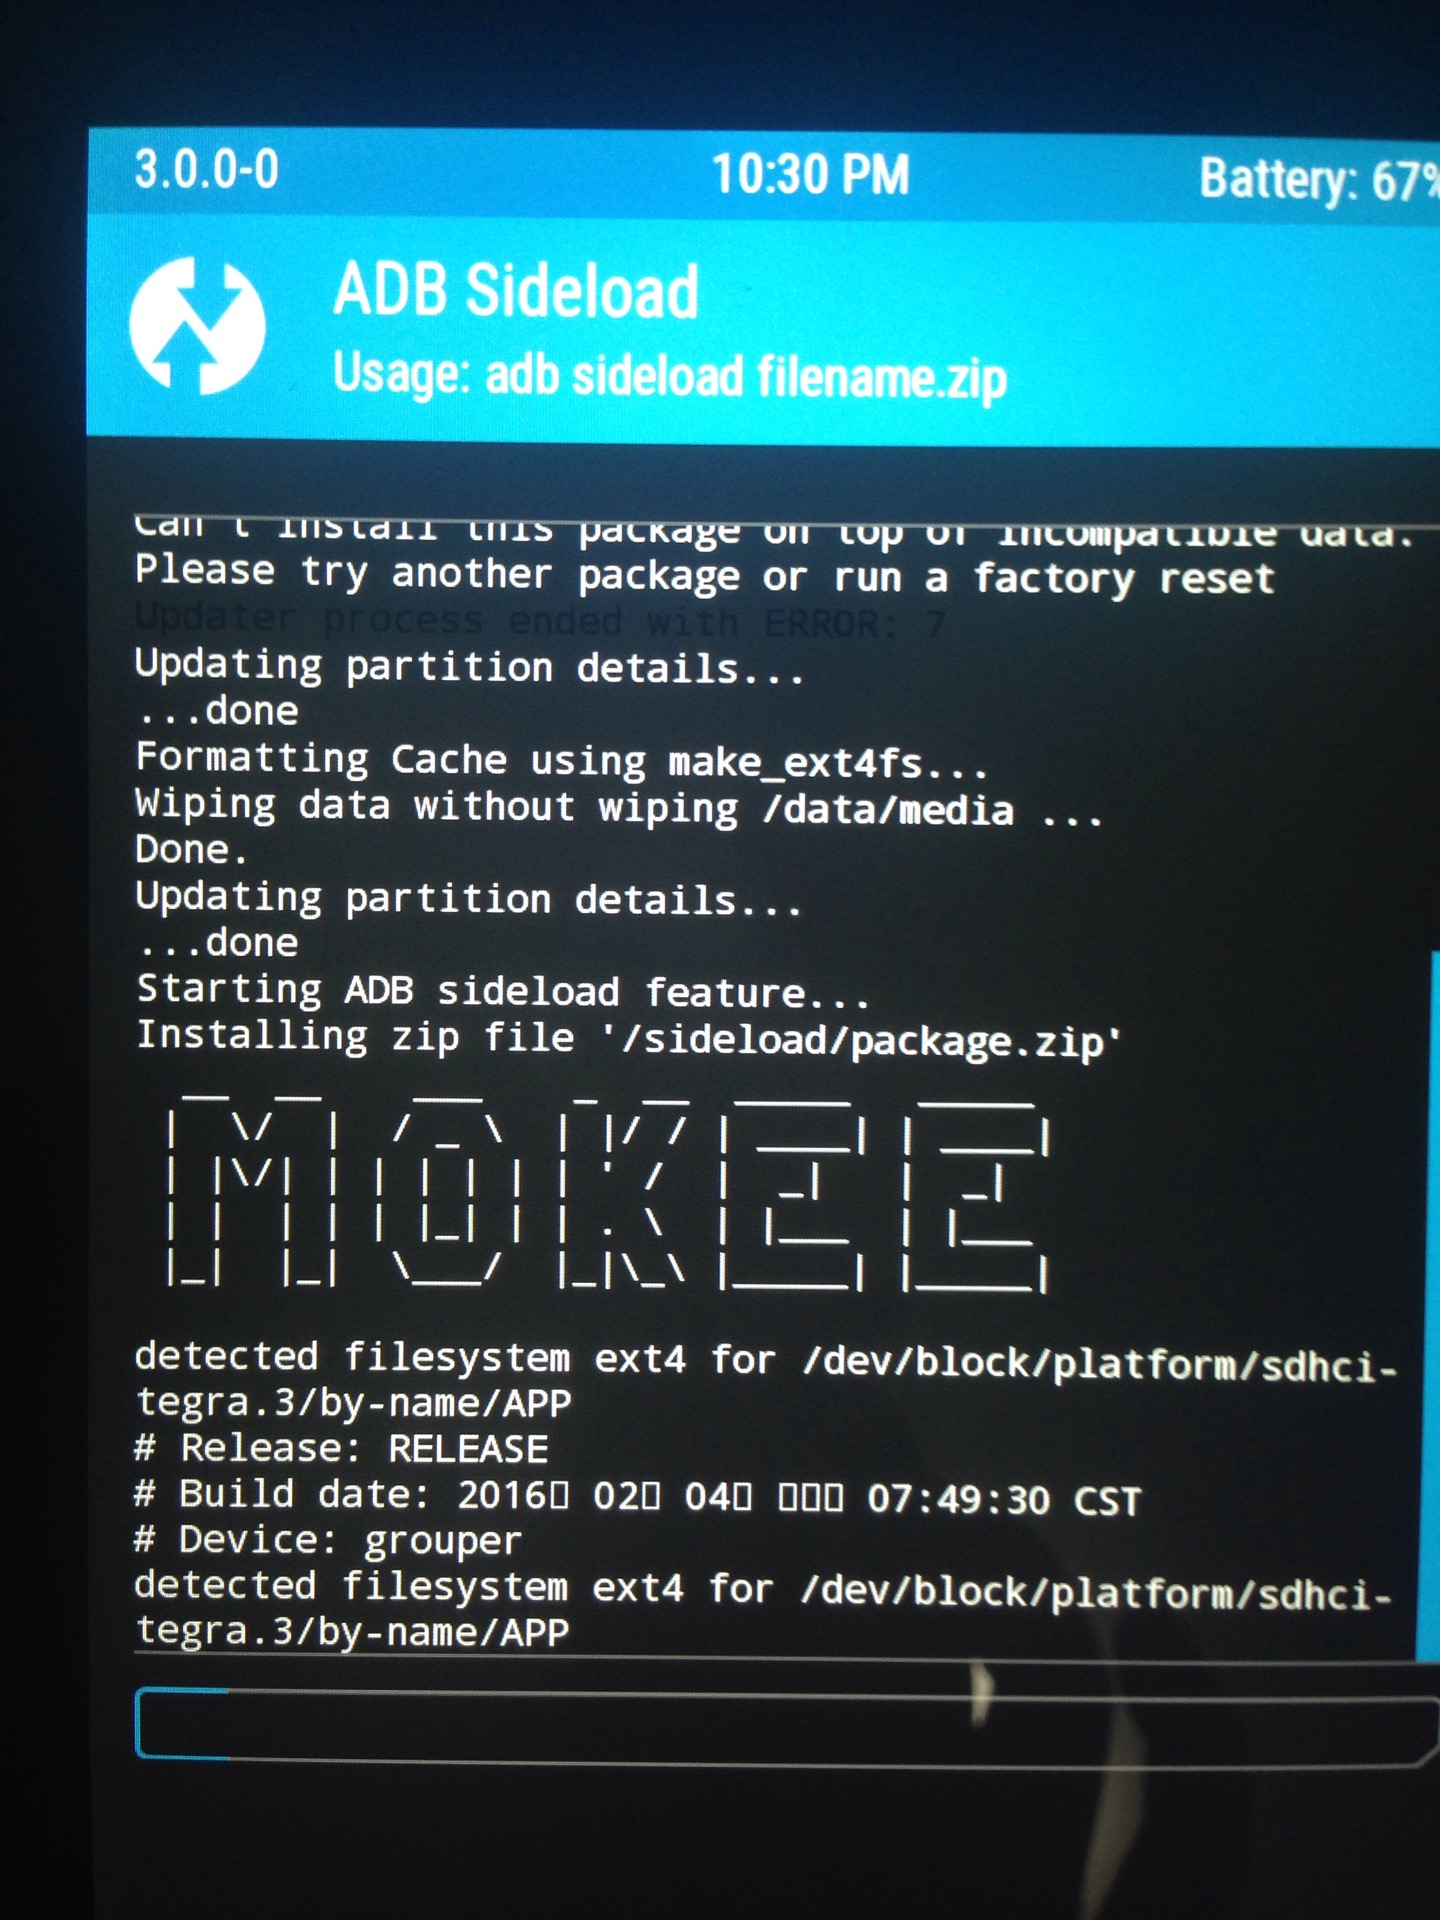
After a factory reset, everything goes:
After
Yes, it is flashing through wire (fastboot), which should be the offical or production way comparing to flashing from microSD card.
In fact the Nexus 7 does not support SD card and an USB OTG(On-The-Go) flash drive is not so convient to find.
So, I prefer flashing through wire as long as I am in the Unix world so that adb undoubtably works over USB.
Also, as I am pinned to iOS as the only smart device system since Google has been blocked out of China, I am not familiar to andriod ever since version 2.1. Of cause I played around this Nexus 7 on Mokee 5.1.1.
I still feels the UI a bit, er, stiff, when I click the virtual Home button from NetEase Cloud Music. This is a bit strange since it is a top-class device came out just 3 years ago.
Er, I just find the 2012 version is the first one in Google Nexus tablets.
The one I tried has 1GB memory and 16GB storage.
Another finding is that I finally knows how this overlay running processes list comes as “show CPU load”:
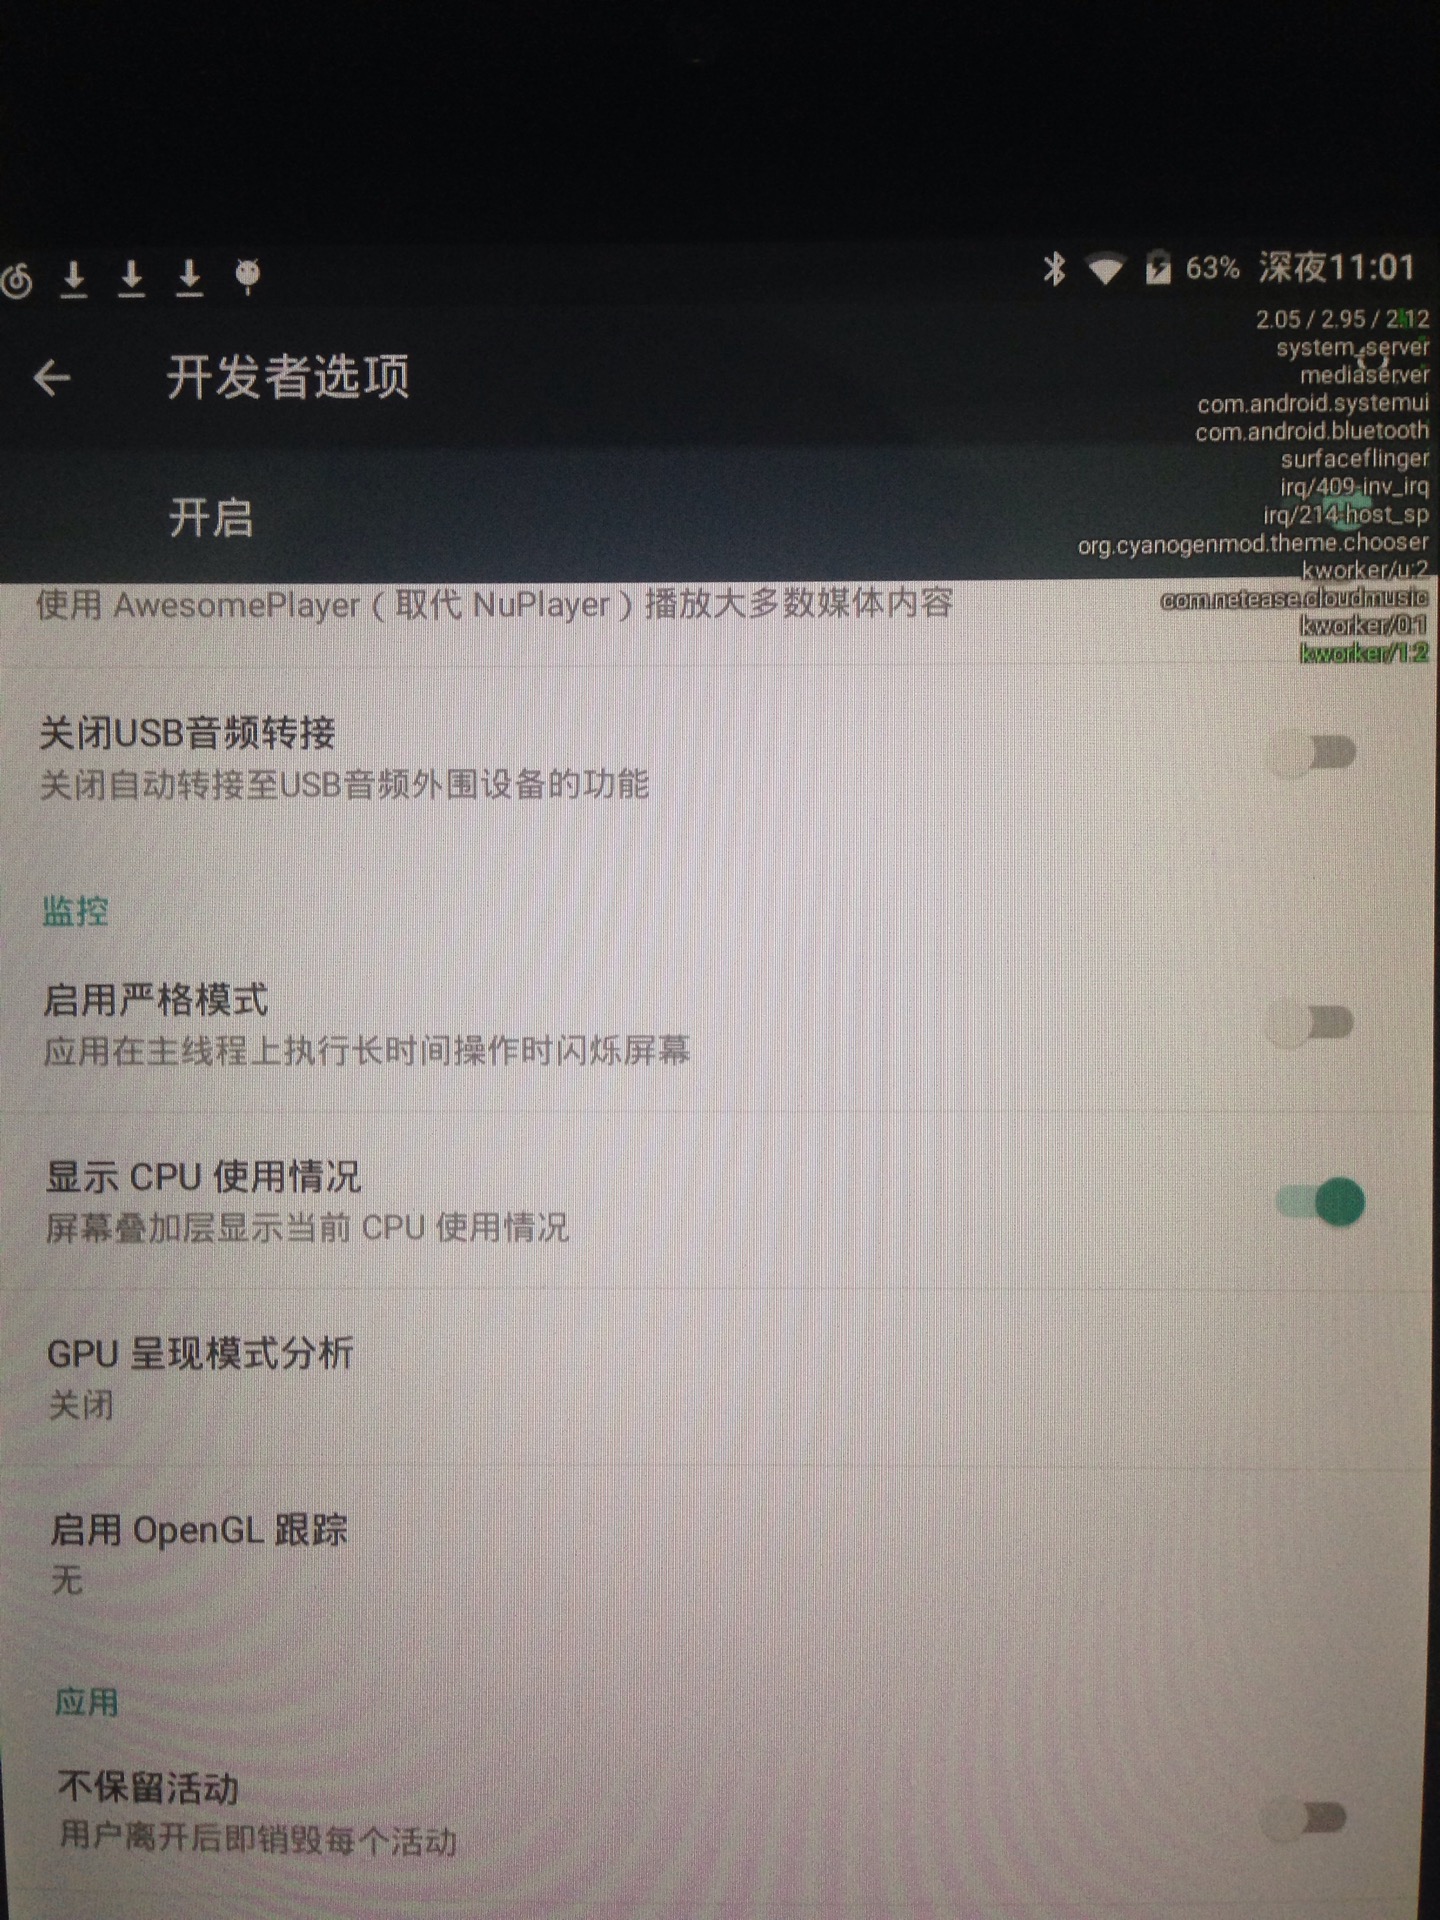
In fact I have asked on Twitter to those who post screenshot with processes list and got no reply.
Finally, I just come to an offical Flashing guide.
No comments
Comments are closed